Grove - EMG Detector
Introduction
EMG detector is a bridge connects human body and electrical, the sensor gathers small muscle signal then process with 2th amplify and filter, the output signal can be recognized by Arduino. You can add this signal into your control system.
Note
The sensor cannot be used for medical purposes.In standby mode, the output voltage is 1.5V. When detect muscle active, the output signal rise up, the maximum voltage is 3.3V. You can use this sensor in 3.3V or 5V system.

Features
- Grove Compatible
- 3.5mm Connector
- 6 Disposable Surface Electrodes
- Power supply voltage: 3.3V-5V
- 1000mm Cable Leads
- No additional power supply
Tip
More details about Grove modules please refer to Grove System
Platforms Supported
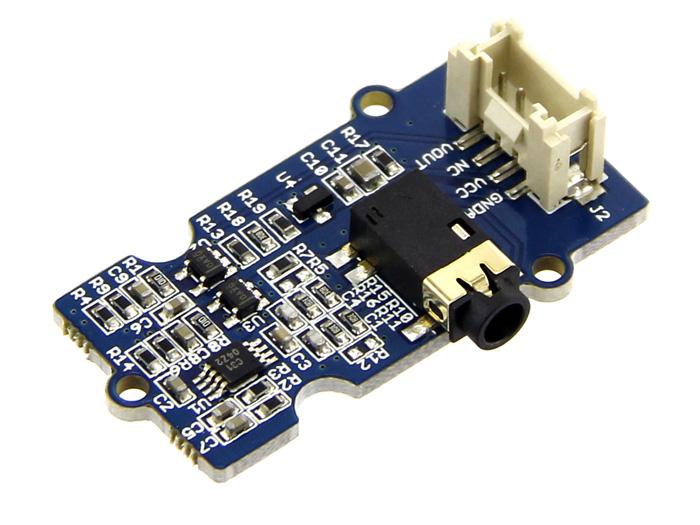
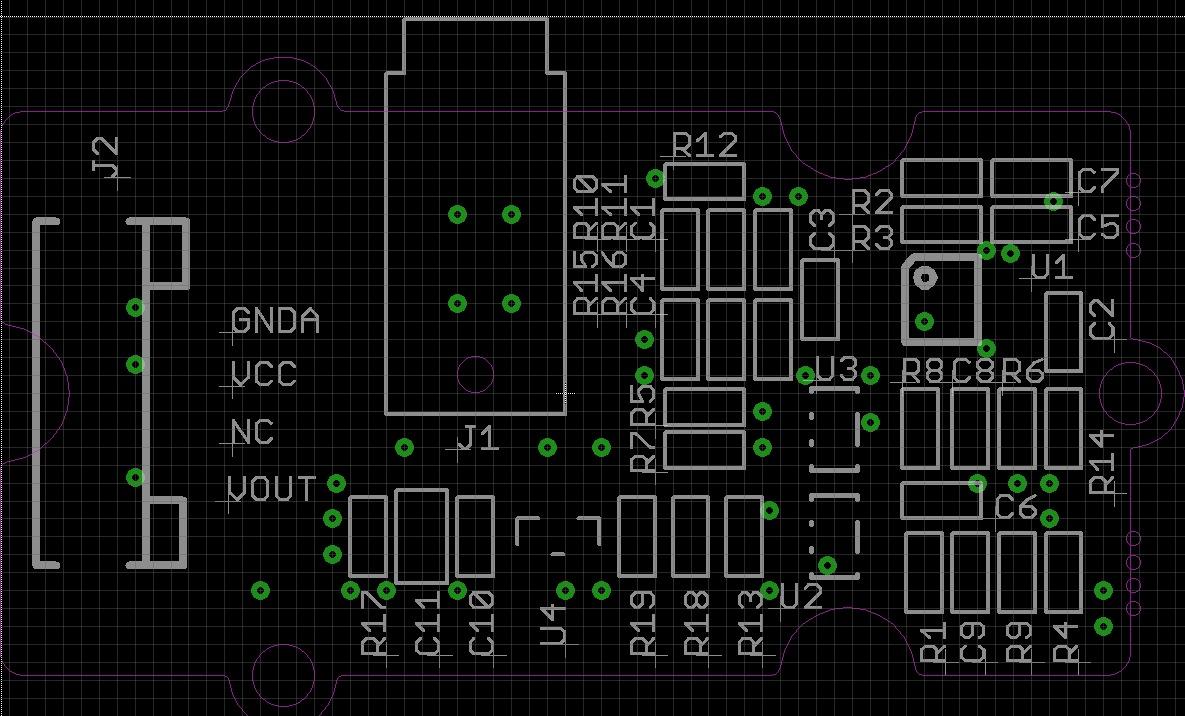
Hardware Overview
- J2: grove interface, connect to analog I/O;
- J1: EMG Disposable Surface Electrodes connector.
- U1: INA331IDGKT, difference amplifier.
- U2, U3: OPA333, Zero drift amplifier.
Demonstration
This demonstration will show you how to use Grove - LCD RGB Backlight, we need a Seeeduino V3.0, a Grove - LED Bar and Grove - Base Shield.
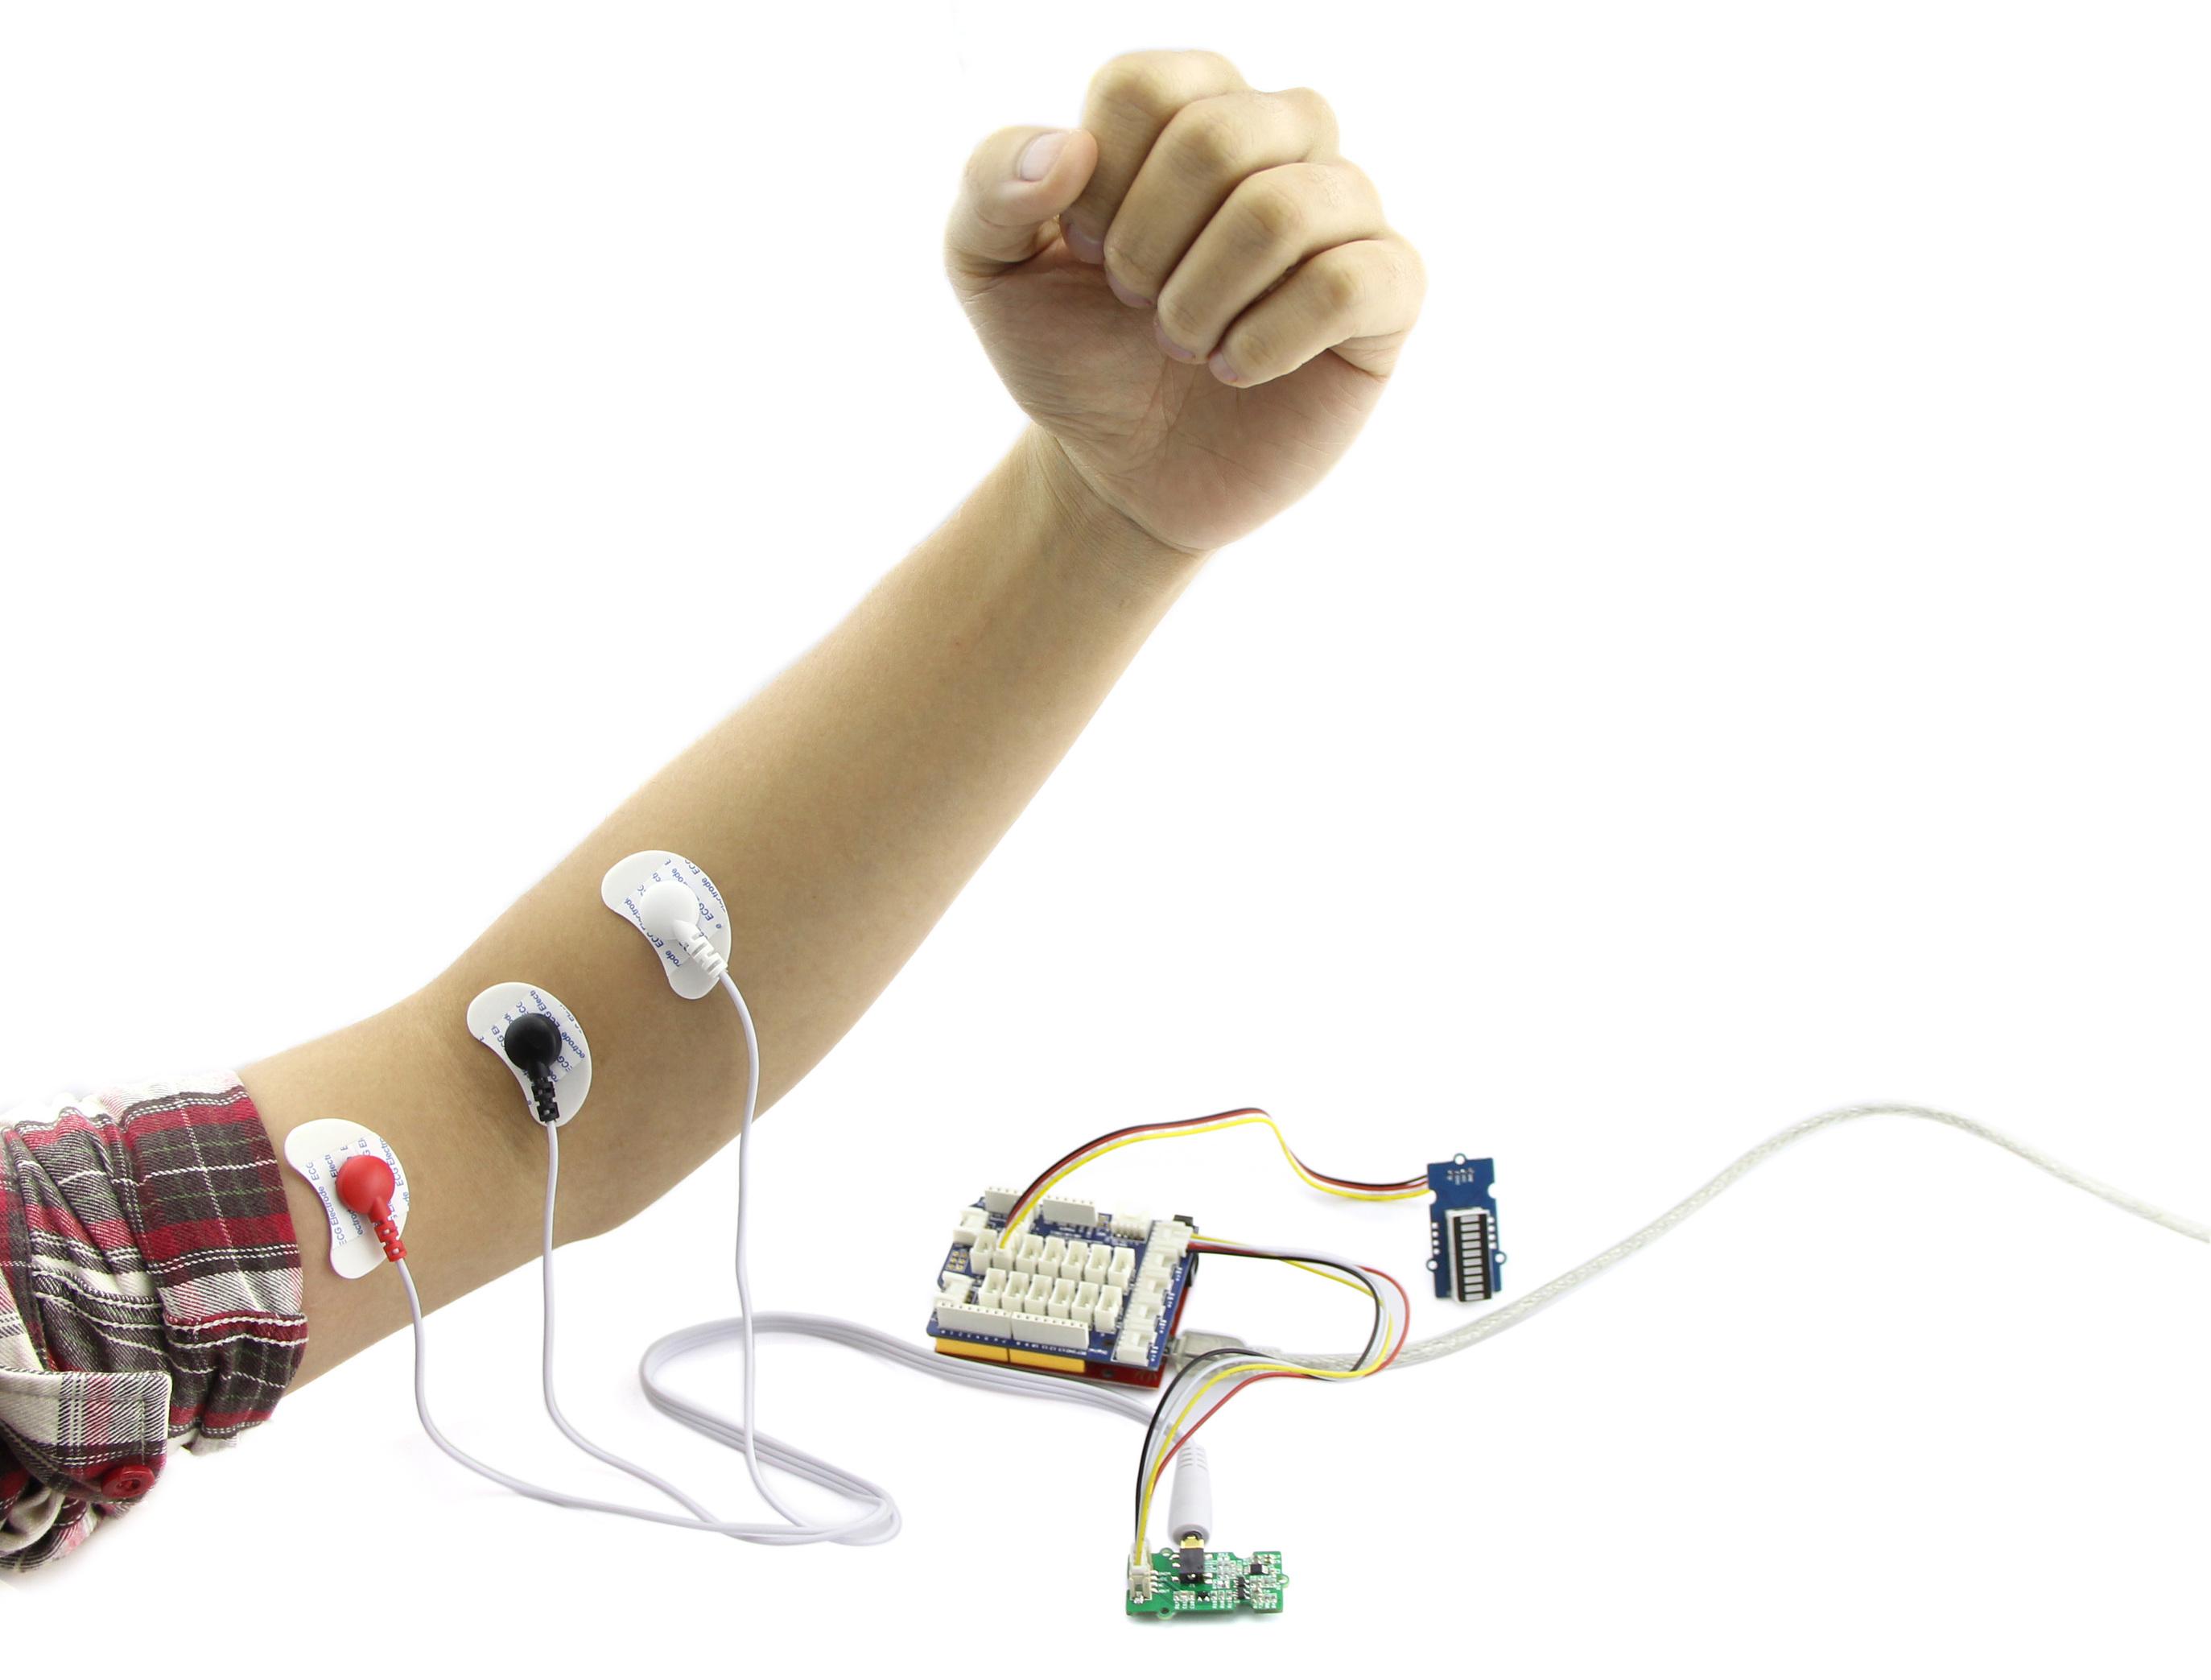
Hardware Installation
Plug Grove - Base Shield to Seeeduino, then connect Grove - LED Bar to D8, connect Grove - EMG Sensor to A0.
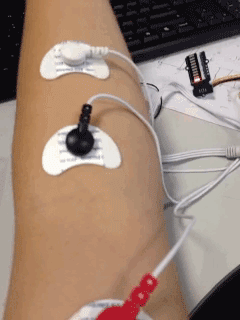
Finally, tack the three electrodes to your muscle, and keep a distance between each electrodes.
Download Code and Upload
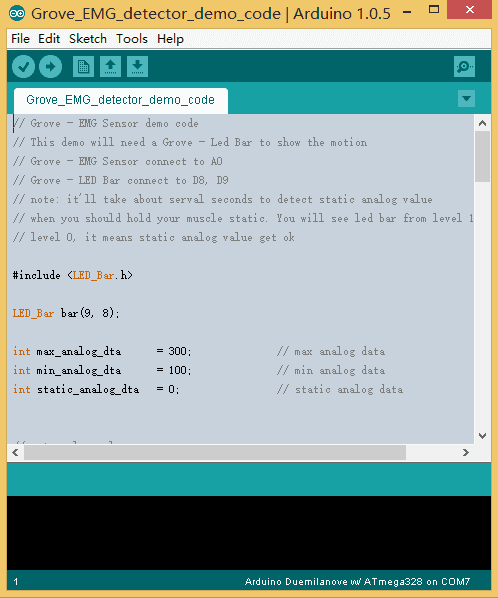
You can download the demo code in github, click here, then extract it to anywhere.
Then upload the code to Seeeduino, if you have any problem about code uploading, please refer to Getting Started With Seeeduino
Move
When finish downloading demo code, it’ll take about 5s to initialize, you should keep static when initializing.
You can see that when initializing, the Led Bar will go form level 10 to level 0. When Led Bar All off, you can move now.
When you are moving, you can find that the level of Led Bar will change.
Resources
- Grove-EMG Sensor v1.0 Eagle File
- Grove-EMG Sensor v1.1 Eagle File
- Grove-EMG Sensor v1.1 schematic PDF
- Demo Code
| Arduino | Wio | BeagleBone | Raspberry Pi | LinkIt ONE |
|---|---|---|---|---|
Caution
The platforms mentioned above as supported is/are an indication of the module's hardware or theoritical compatibility. We only provide software library or code examples for Arduino platform in most cases. It is not possible to provide software library / demo code for all possible MCU platforms. Hence, users have to write their own software library.
Help us make it better
Welcome to the new documentation system of Seeed Studio. We have made a lot of progress comparing to the old wiki system and will continue to improve it to make it more user friendly and helpful. The improvement can't be done without your kindly feedback. If you have any suggestions or findings, you are most welcome to submit the amended version as our contributor via Github or give us suggestions in the survey below, it would be more appreciated if you could leave your email so that we can reply to you. Happy Hacking!