Grove - 3-Axis Digital Accelerometer(±1.5g)
Introduction
|
|
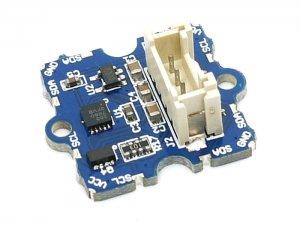
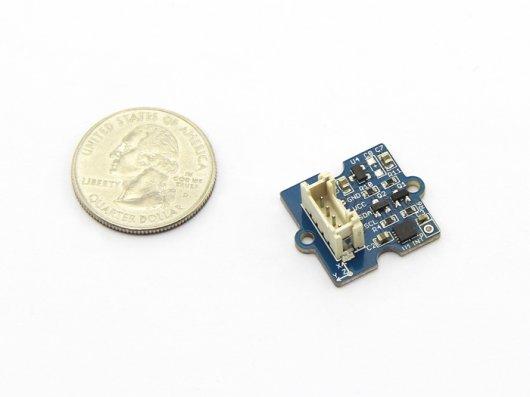
Grove - 3-Axis Digital Accelerometer v1.2
|
Grove - 3-Axis Digital Accelerometer v1.2b
|
3-Axis Digital Accelerometer is the key part in projects like orientation detection, gesture detection and Motion detection. This 3-Axis Digital Accelerometer(±1.5g) is based on Freescale’s low power consumption module, MMA7660FC. It features up to 10,000g high shock survivability and configurable Samples per Second rate. For generous applications that don’t require too large measurement range, this is a great choice because it’s durable, energy saving and cost-efficient.

Specifications
- Working voltage: 3.0 - 5.5V
- Off Mode Current: 0.4μA
- Standby Mode Current: 2μA
- Active Mode Current: 47 μA at 1 ODR
- Test Range: ±1.5g
- Sensitivity: 21LSB/g
- Suli-compatible Library
Tip
More details about Grove modules please refer to Grove System
Platforms Supported
Note
For more details about Suli-compatible Library, please refer to Suli.Demonstration
With Arduino
Here we are going to show you how to get raw data and data measured by “g” from this sensor.
Connect this module to the I2C port of Grove - Base Shield via a Grove cable.
Note
If you want to activate the Interrupt function of this module, you need to connect the INT soldering pad we broke out on the board with a pin of Arduino that's capable of Interrupt Service Routine.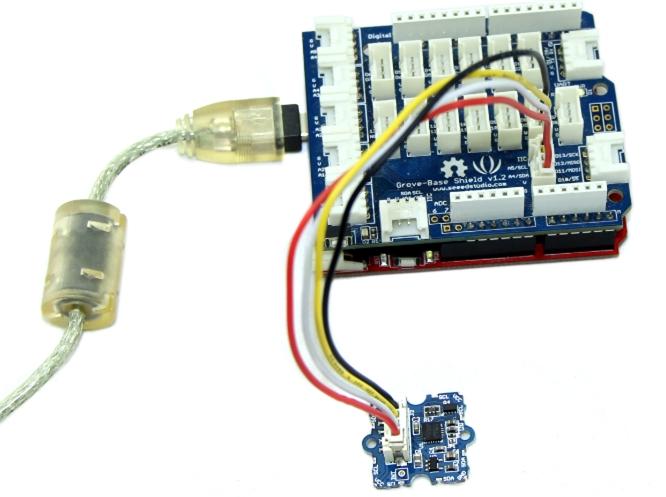
Install the library we provide in the Resources section.
Open the code directly by the path:File -> Example ->DigitalAccelerometer_MMA7660FC ->MMA7660FC_Demo.
In this program, acceleration information are sent from the sensor to Seeeduino via I2C bus and then Seeeduino printed them onto the serial monitor. Open the serial monitor to check the result.
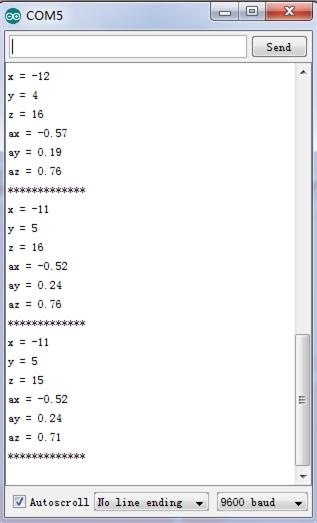
The outputs of this sensor consist of two parts: raw data and 3-axis acceleration info converted into the unit of gravity, “g”.
With Raspberry Pi
1.You should have got a raspberry pi and a grovepi or grovepi+.
2.You should have completed configuring the development enviroment, otherwise follow here.
3.Connection
- Plug the sensor to grovepi socket i2c-x(1~3) by using a grove cable.
4.Navigate to the demos’ directory:
cd yourpath/GrovePi/Software/Python/
- To see the code
nano grove_i2c_accelerometer.py # "Ctrl+x" to exit #
    import time
    import grovepi

    # Connect the Grove Accelerometer (+/- 1.5g) to any I2C port eg. I2C-1
    # Can be found at I2C address 0x4c
    # SCL,SDA,VCC,GND

    while True:
        try:
            print grovepi.acc_xyz()
            time.sleep(.5)

        except IOError:
            print "Error"
5.Run the demo.
sudo python grove_i2c_accelerometer.py
Reference
Below are two figures helping you understand the physical meaning of the result.
The first figure is about the direction of each axis:

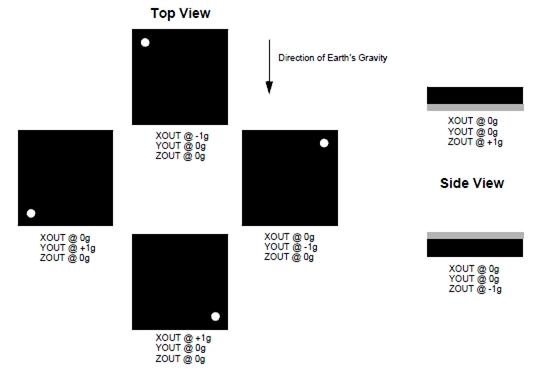
The second figure gives some examples:
Resources
- Datasheet of MMA7660FC
- Grove - 3-Axis Digital Accelerometer Eagle File
- github repository for 3-Axis Digital Accelerometer(±1.5g)
| Arduino | Wio | BeagleBone | Raspberry Pi | LinkIt ONE |
|---|---|---|---|---|
Caution
The platforms mentioned above as supported is/are an indication of the module's hardware or theoritical compatibility. We only provide software library or code examples for Arduino platform in most cases. It is not possible to provide software library / demo code for all possible MCU platforms. Hence, users have to write their own software library.
Help us make it better
Welcome to the new documentation system of Seeed Studio. We have made a lot of progress comparing to the old wiki system and will continue to improve it to make it more user friendly and helpful. The improvement can't be done without your kindly feedback. If you have any suggestions or findings, you are most welcome to submit the amended version as our contributor via Github or give us suggestions in the survey below, it would be more appreciated if you could leave your email so that we can reply to you. Happy Hacking!