Grove - Speech Recognizer
Introduction
Use voice to interact with things around you can always be one of the most interesting things of IoT application, we want to make something more different and cooler. Recently we just launched the voice control solution “Respeaker” on Kickstarter and it becomes the blockbuster. However not everybody needs a Respeaker to build voice control project, sometimes people only need a simple solution, here we would like to introduce the first generation of grove speech recognizer to realize your dream of smart home easily and fast.
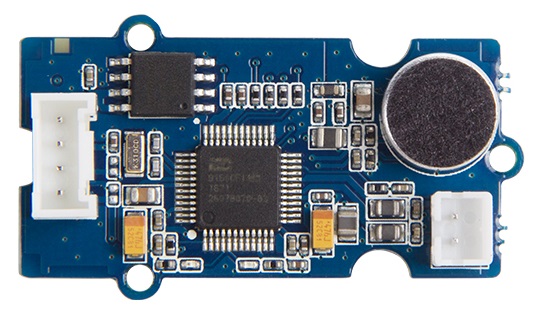
Grove speech recognizer is a designed for voice control application such as smart home, smart toy, voice control robot, anything you would like to control through voice, it worth a try. The board includes a Nuvoton ISD9160, a microphone, 1 SPI flash, 1 grove connector,1 speaker connector and 1 led to reflect to your voice.
Nuvoton ISD9160 is (SoC) Chipcorder that based on Cortex™-M0, it provides strong and economic solution for voice control applications. ISD9160 is not the only amazing thing in this grove. Let’s look at the microphone. Remember the uncomfortable moment when you have to speak directly and closely to the voice recognizer device to make sure it can hear you? It won’t happen this time! The microphone on grove-speech recognizer is Omni-directional, which means that whether a user speaks into the microphone from the front, back, left or right side, the microphone will record the signals all with equal gain.
This speech recognizer can recognize 22 pieces of commands including ‘start’, ‘stop’, ‘Play music’ and so on. Every time it recognizes a command, it will return a value and then the loudspeaker that connected to it will repeat the command. This value can be used to control other devices like motor, music player. We have tested it for hours to make sure it possesses a high recognition rate and a very low false trigger.
Here are some notes that you must know before using it: Awaken Word: Hicell (Please pronounce it as one word) When it recognizes the awaken word, LED turn red, then you can say the command word, if it recognize the command word, LED will turn blue.
Note
The firmware of the module was wrote by the third party vendor, it’s not open source.
Application Ideas
- Internet of Things
- Smart House
- Human Machine Interface
- Lighting Control
- Sensor Hub
- Robot
Features
- Local Voice Recognition
- Very low rate of false triggering
- Speaker connector(JST2.0, speaker is not include)
- Built-in microphone
- 3.3/5V working voltage
- 22 recognition entry
- Default Baudrate: 9600
Tip
More details about Grove modules please refer to Grove System
Platform Support
| Arduino | Wio | BeagleBone | Raspberry Pi | LinkIt |
|---|---|---|---|---|
Specification
| Item | Min | Typ | Max | Condition |
|---|---|---|---|---|
| Operating Voltage | 3V | 3.3V | 5V | 25 ℃ |
| Operating Current | 25mA | 26.5mA | 80mA@playing | VCC = 3.3V 25℃ |
| Operating Current | 25mA | 26.5mA | 130mA@playing | VCC = 5V 25℃ |
| Operating Temperature | 0℃ | 25℃ | 85℃ | |
| Size | 40*20mm | |||
| Weigth | 5g | |||
| Flash | 2Mbytes | |||
| Microphone Sensitivity | -43dB | -40dB | -37dB | VCC = 5V 25℃ |
| Microphone SNR | 58dB | |||
| Microphone Directivity | Omni-directional | |||
| Speaker Power | 1W | VCC = 5V 25℃ | ||
| Processor core | Cortex-M0 | |||
| Processor Frequency | 32.768MHz | 50MHz | VCC = 5V 25℃ |
Hardware Overview
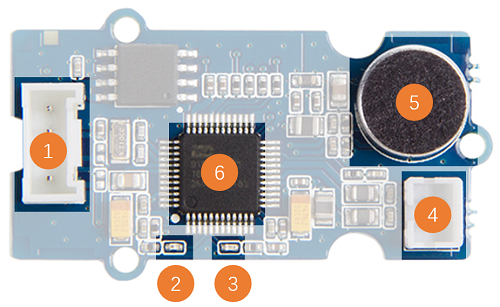
- Grove Connector
- Red Led - lights when “HIcell” is recognized
- Blue Led - lights when a command is recognized
- Speaker Connector - You can connect a speaker to get the voice return
- Microphone
- ISD9160CFI - controller
Command Return
| Command | Value |
|---|---|
| Turn on the light | 1 |
| Turn off the light | 2 |
| Play music | 3 |
| Pause | 4 |
| Next | 5 |
| Previous | 6 |
| Up | 7 |
| Down | 8 |
| Turn on the TV | 9 |
| Turn off the TV | 10 |
| Increase temperature | 11 |
| Decrease temperature | 12 |
| What’s the time | 13 |
| Open the door | 14 |
| Close the door | 15 |
| Left | 16 |
| Right | 17 |
| Stop | 18 |
| Start | 19 |
| Mode 1 | 20 |
| Mode 2 | 21 |
| Go | 22 |
Getting Started
Here we will show you how this Grove - Speech Recognizer works via a simple demo. First of all, you need to prepare the below stuffs:
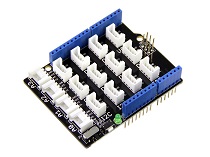
| Seeeduino V4 | Grove - Speech Recognizer | Base Shield |
|---|---|---|
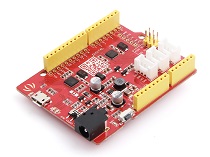 |
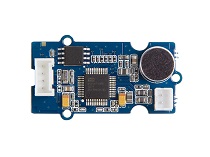 |
 |
| Get ONE Now | Get ONE Now | Get ONE Now |
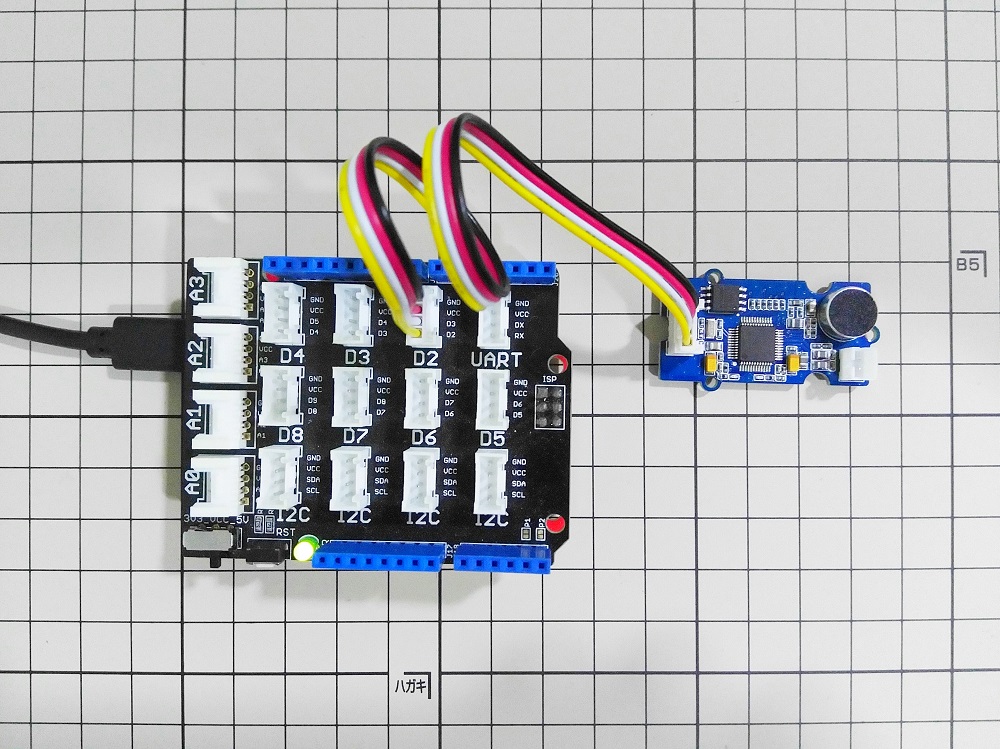
Hardware Connection
Thanks to the benefit of Grove series module, you don’t need to make soldering or bread board, what you need to do is connect the modules to the right port of Base Shield. For this demo, we connect Grove - Speech Recognizer to D2.
Software
Copy the below code and paste to your Arduino IDE, and upload to your Seeeduino V4. After upload the code to an Arduino, let open the Serial monitor.
#include <SoftwareSerial.h>

#define SOFTSERIAL_RX_PIN  2
#define SOFTSERIAL_TX_PIN  3

SoftwareSerial softSerial(SOFTSERIAL_RX_PIN,SOFTSERIAL_TX_PIN);

const char *voiceBuffer[] =
{
    "Turn on the light",
    "Turn off the light",
    "Play music",
    "Pause",
    "Next",
    "Previous",
    "Up",
    "Down",
    "Turn on the TV",
    "Turn off the TV",
    "Increase temperature",
    "Decrease temperature",
    "What's the time",
    "Open the door",
    "Close the door",
    "Left",
    "Right",
    "Stop",
    "Start",
    "Mode 1",
    "Mode 2",
    "Go",
};

void setup()
{
    Serial.begin(9600);
    softSerial.begin(9600);
    softSerial.listen();
}

void loop()
{
    char cmd;

    if(softSerial.available())
    {
        cmd = softSerial.read();
        Serial.println(voiceBuffer[cmd - 1]);
    }
}
Awake the module
The module will wake up when there’s command Hicell, then the red led will on. Try again when the red led is not on.
Note
The red led will last 5 seconds. If the red led turn off before the command was recognized, you should Hicell again.
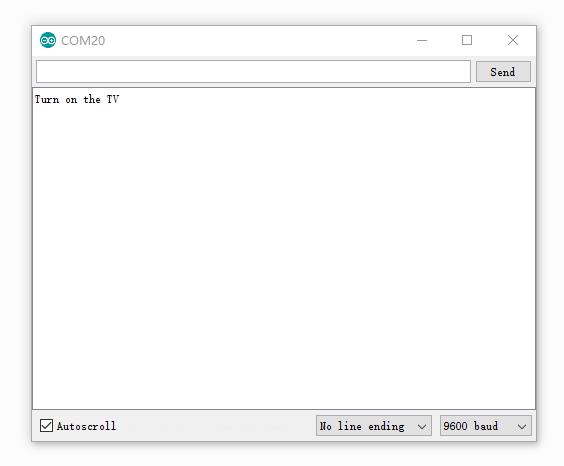
Command
After the module is awake, you can speak out the command. Such as
"Turn on the TV"
If the blue led is light(last about 1s), that means the command was recognized correctly. Take a look at your Serial monitor, the command was printed on it.
Resources
Help us make it better
Welcome to the new documentation system of Seeed Studio. We have made a lot of progress comparing to the old wiki system and will continue to improve it to make it more user friendly and helpful. The improvement can't be done without your kindly feedback. If you have any suggestions or findings, you are most welcome to submit the amended version as our contributor via Github or give us suggestions in the survey below, it would be more appreciated if you could leave your email so that we can reply to you. Happy Hacking!