Grove - Q Touch Sensor
Introduction
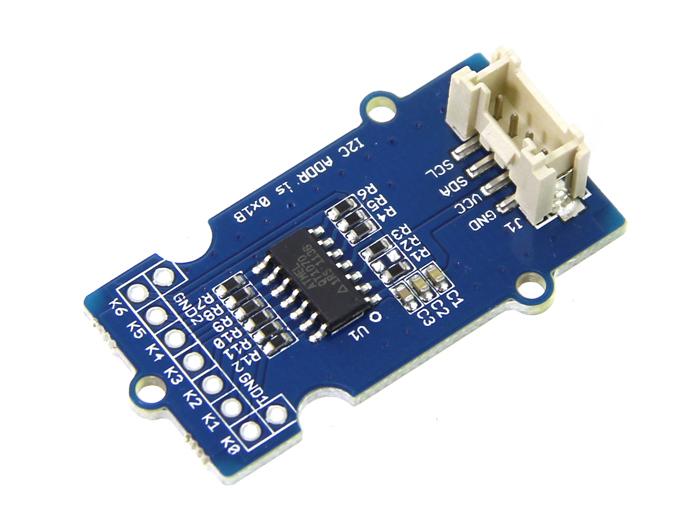
The Q Touch Sensor is a high sensitivity and high noise immunity touch input device. It is based on Atmel AT42QT1070. The AT42QT1070 modulates its bursts in a spread-spectrum fashion in order to heavily suppress the effects of external noise, and to suppress RF emissions. The QT1070 uses a dual-pulse method of acquisition. This provides greater noise immunity and eliminates the need for external sampling capacitors, allowing touch sensing using a single pin.

Specifications
- Operating Voltage: 3 ~ 5.5V
- Operating Current @3.3V: 1mA
- Touch Keys: 7 Keys ; key0, key1, key2 are on the Grove PCB bottom side
- Communicating Protocol: I2C
- I2C Address: 0x1B
Tip
More details about Grove modules please refer to Grove System
Platforms Supported
Hardware Overview
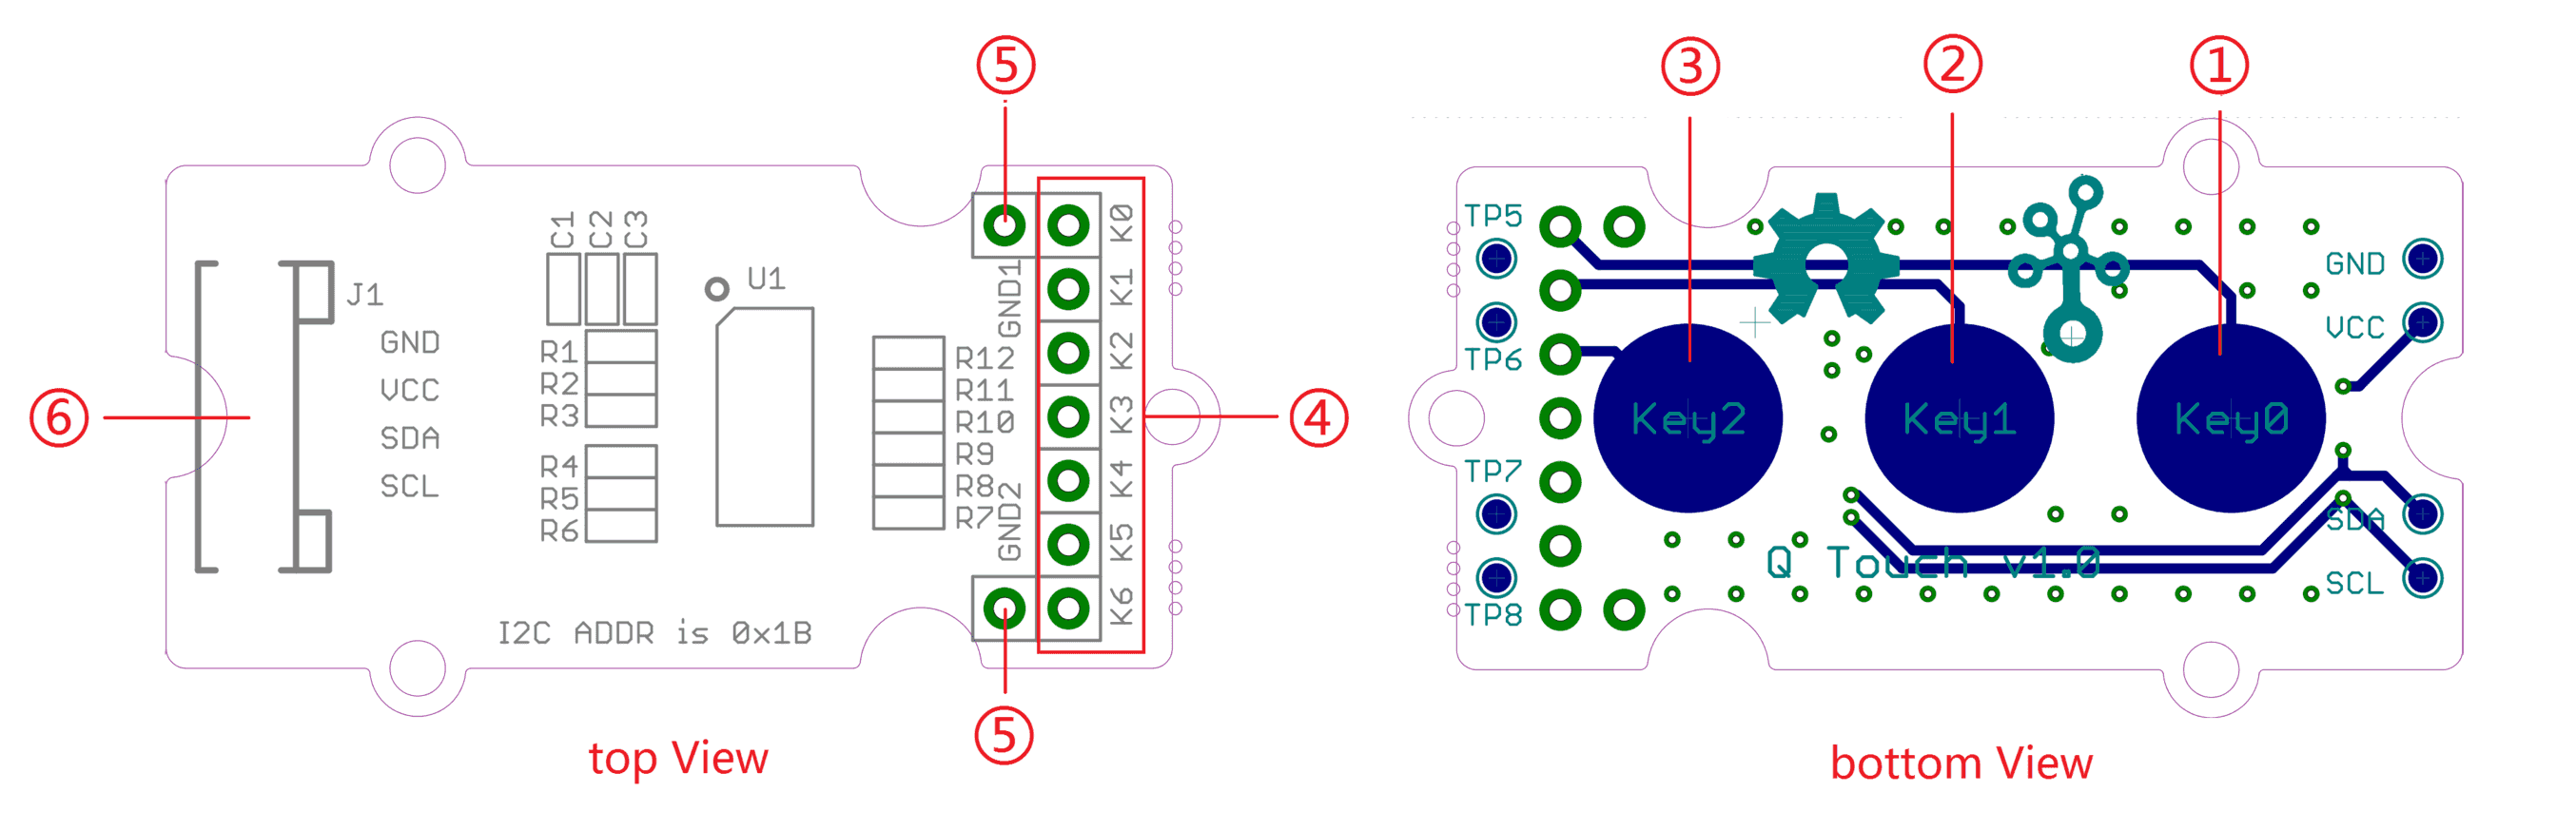
① - On board touch key0
② - On board touch key1
③ - On board touch key2
④ - Touch key0 ~ key6 breakout
- The recommended range for key capacitance Cx is 1 pF – 30 pF. Larger values of Cx will give reduced sensitivity.
⑤ - GND
⑥ - Grove interface
Usage
Demo: Who touched my lychee?
Have you ever heard of a lychee? Yes, it’s a very famous fruit of south of China. If you have ever tasted, will love it.
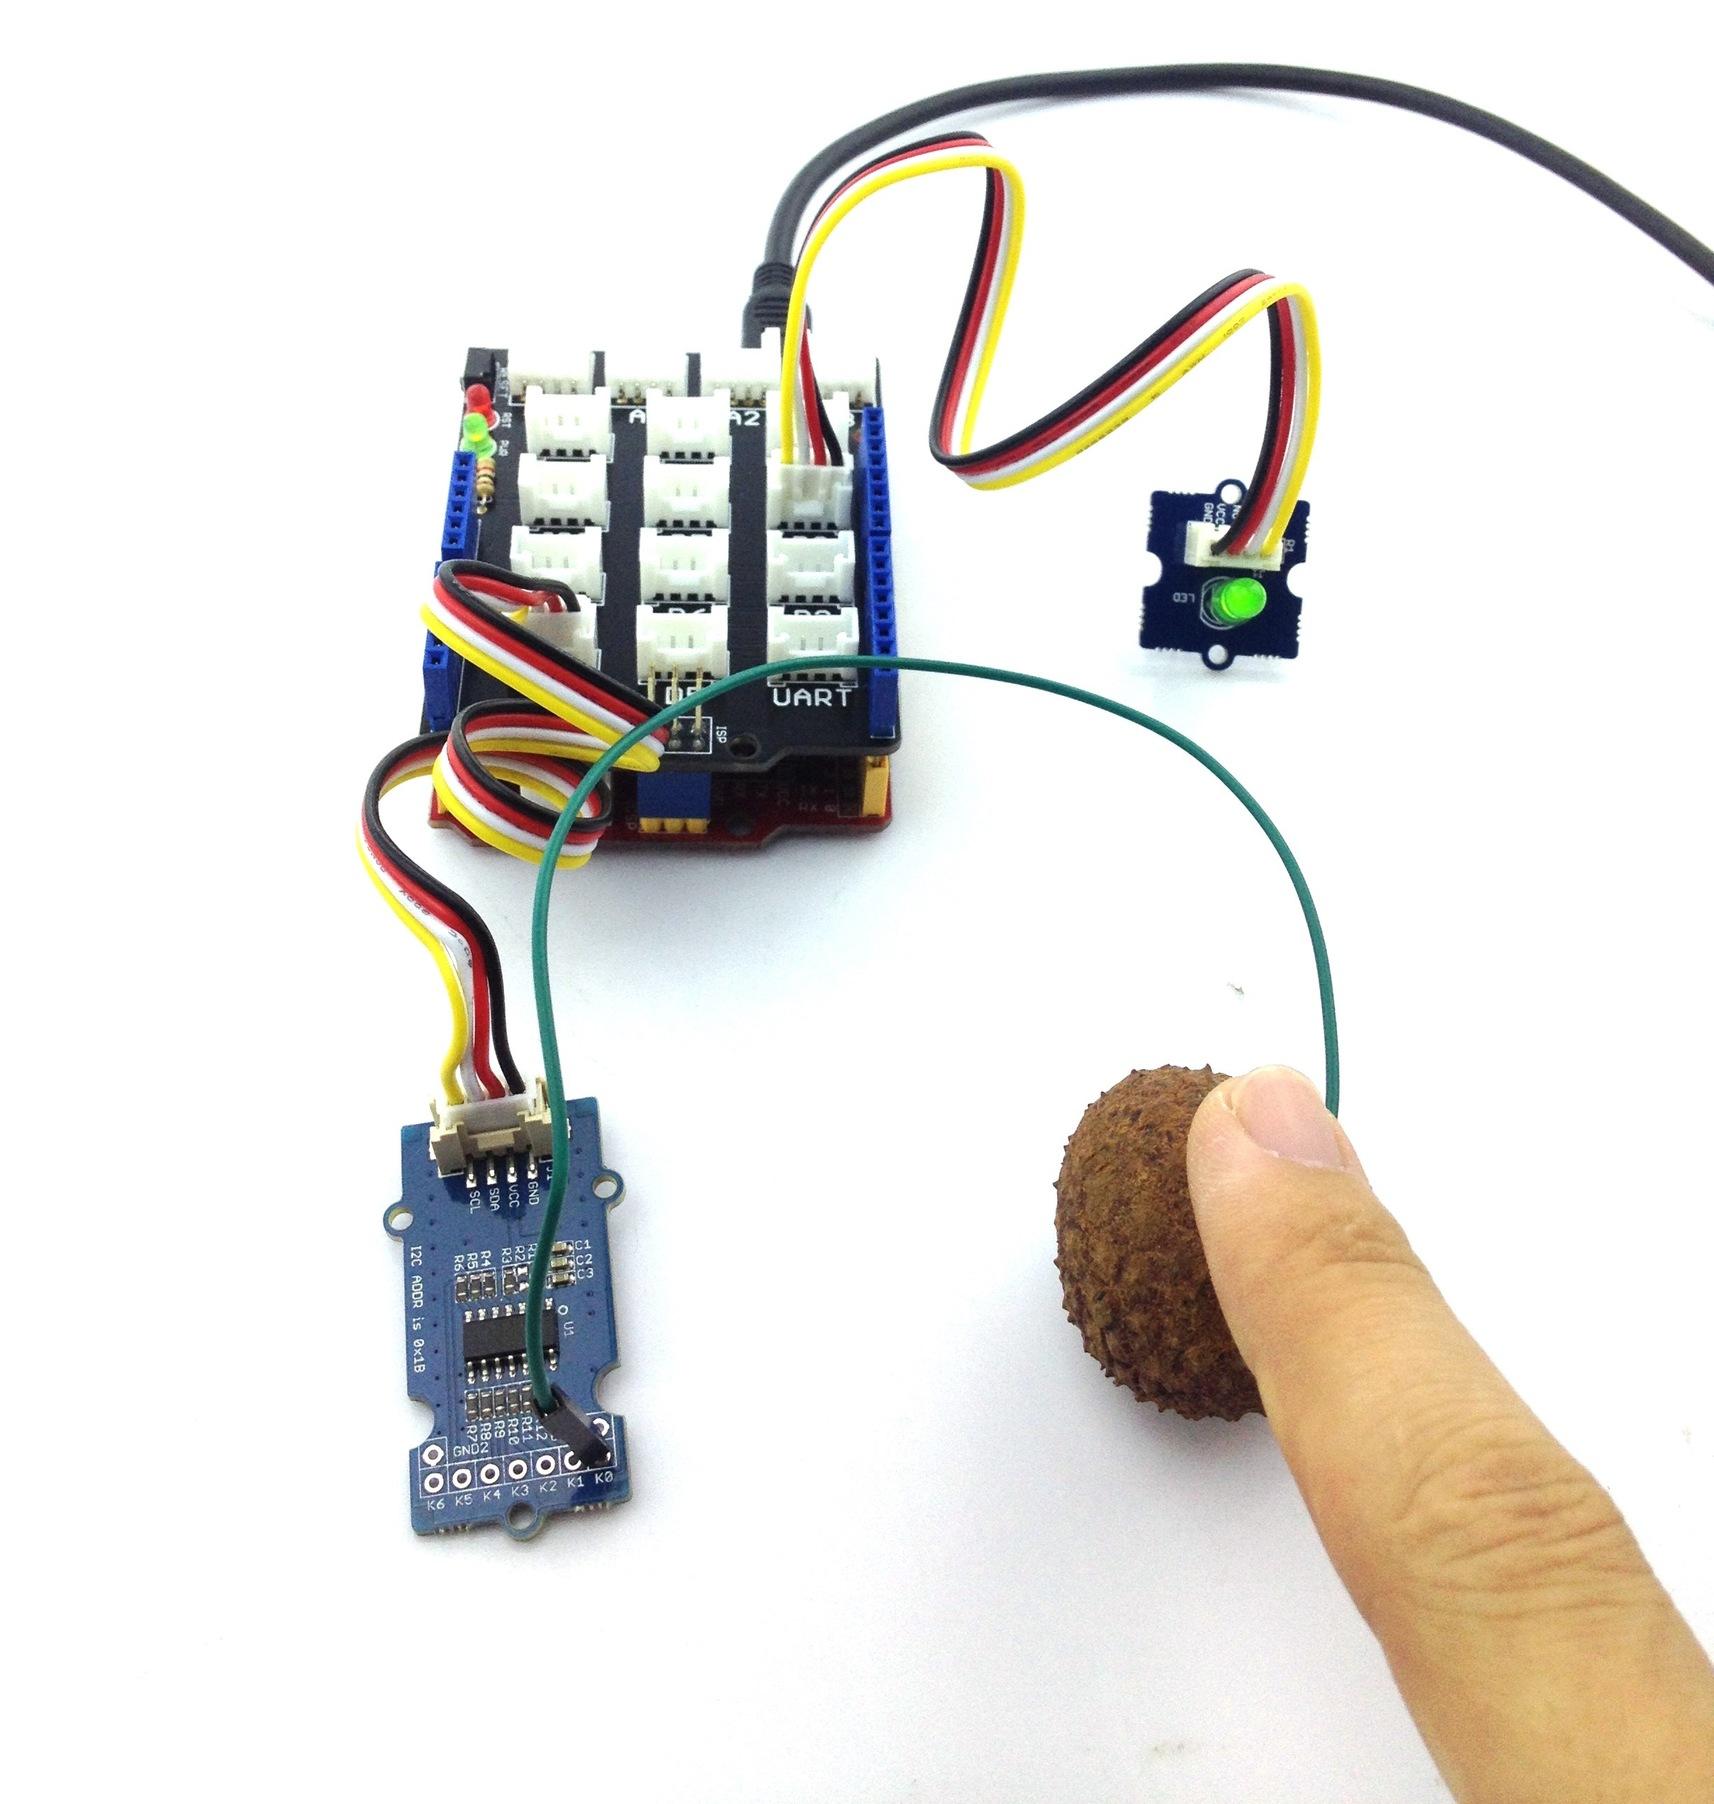
Now let us begin our demo. When you touch the hit pan (lychee),the LED will turn on.
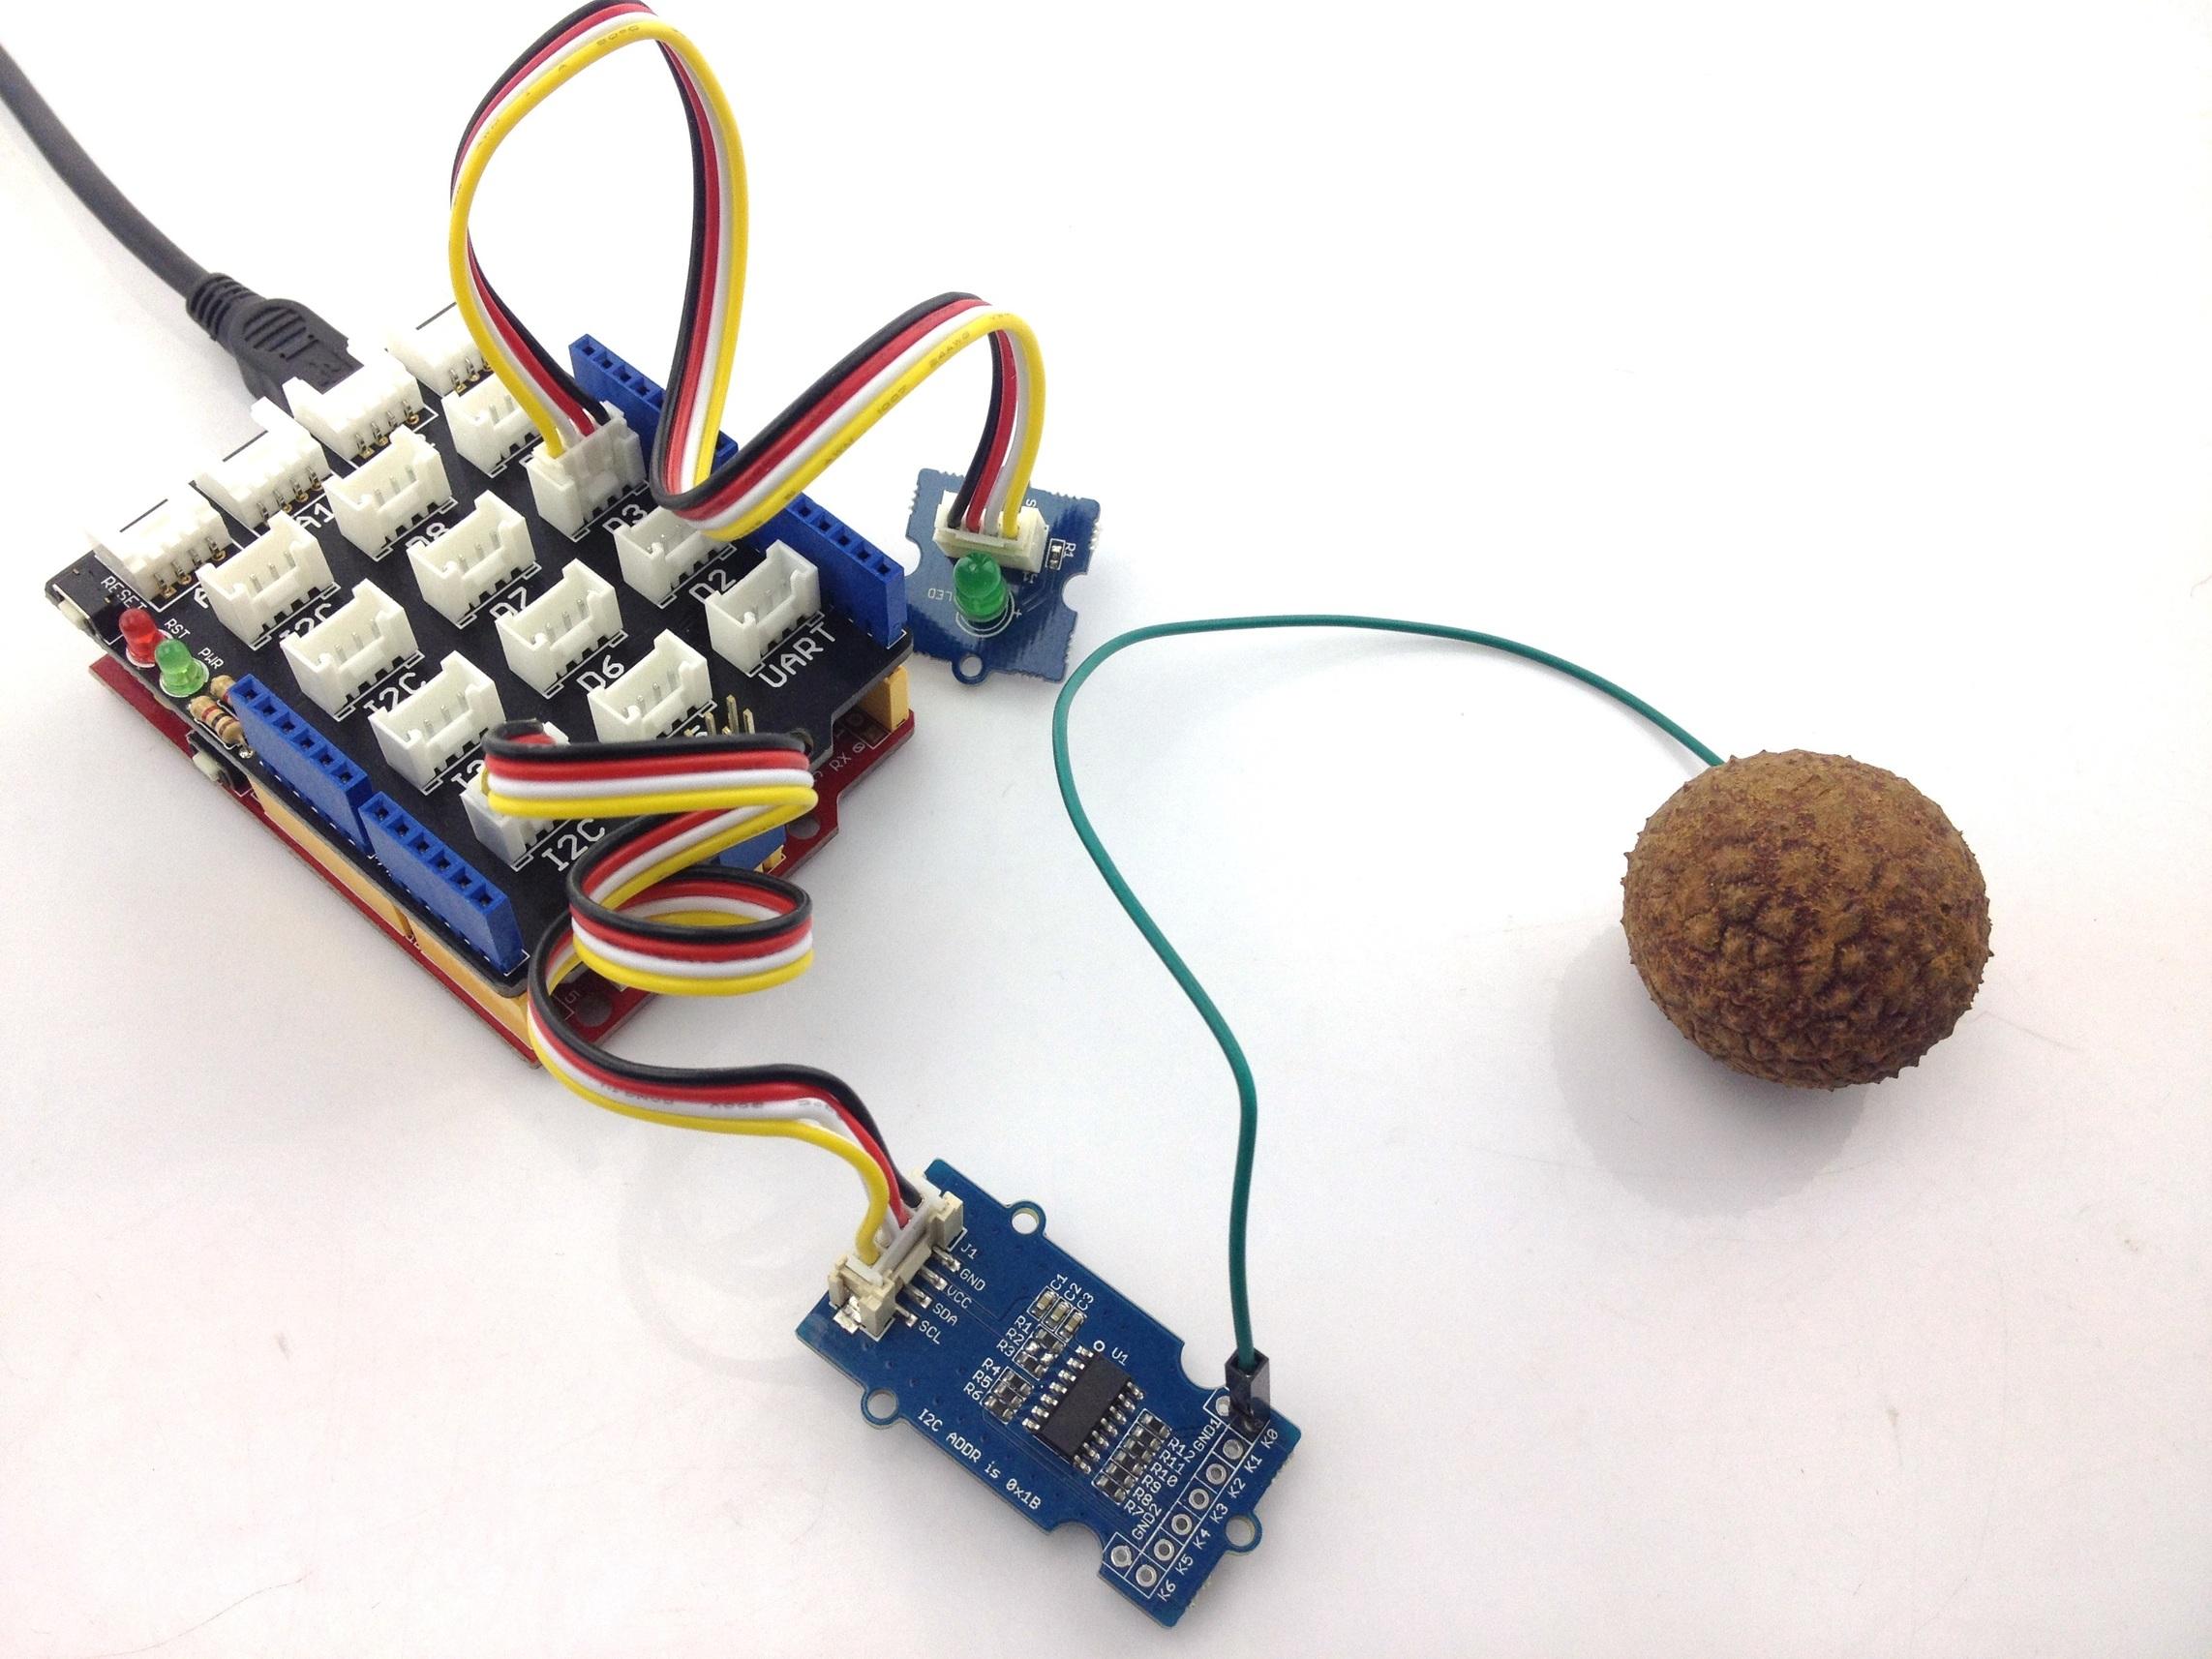
Hardware Connections
- Connect the I2C of Grove-Q Touch Sensor to the I2C socket on the Grove Base Shield.
- Connect the Grove-LED to D3 (Digital Pin 3) on the Grove Base Shield.
- Connect Key0 (marked K0) on the Grove-Q Touch sensor to a Lychee (Alternatively, you could touch the open end of the cable with a finger while testing).
Software Part
- Download the Q Touch Library.
- Unzip it into the libraries folder of Arduino IDE, for example the path could be ..\arduino-1.0.5\libraries.
Example 1
a. Open the example via Arduino Menu ‘File -> Examples -> Seeed_QTouch-master -> Grove_QTouch_demoCode_v_1_0’.
b. Upload the code. Note that you should select the correct board type and COM port.
c. On touching the Lychee, the LED would glow, as can be seen below.
Example 2
a. Open the example via Arduino Menu ‘File -> Examples -> Seeed_QTouch-master -> isTouch’.
b. Upload the code.
c. Open the Serial Monitor.
d. Touch and release the Lychee; The Serial Monitor would display the duration of touch as in the screenshot below.
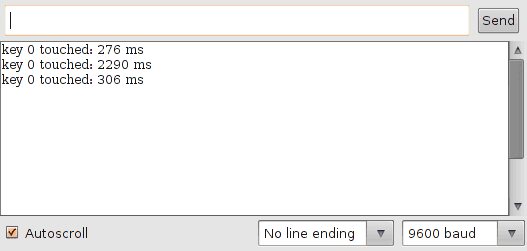
You can try the Codebender widget below to upload the code as well.
Please open the Serial monitor below to view data.
Example 3
a. Open the example via Arduino Menu ‘File -> Examples -> Seeed_QTouch-master -> getTouchNumber’.
b. Upload the code.
c. Open the Serial Monitor.
d. On touching the Lychee, the Serial Monitor would display the Key that is connected, as in the screenshot below. One can connect the fruit to any other Key and verify.
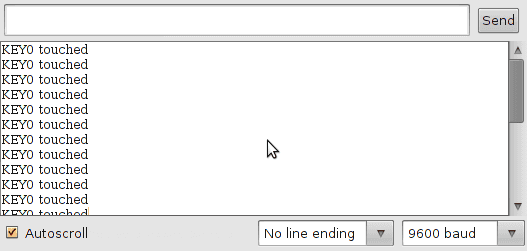
You can try the Codebender widget below to upload the code as well.
Please open the Serial monitor below to view data.
Resources
| Arduino | Wio | BeagleBone | Raspberry Pi | LinkIt ONE |
|---|---|---|---|---|
Caution
The platforms mentioned above as supported is/are an indication of the module's hardware or theoritical compatibility. We only provide software library or code examples for Arduino platform in most cases. It is not possible to provide software library / demo code for all possible MCU platforms. Hence, users have to write their own software library.
Help us make it better
Welcome to the new documentation system of Seeed Studio. We have made a lot of progress comparing to the old wiki system and will continue to improve it to make it more user friendly and helpful. The improvement can't be done without your kindly feedback. If you have any suggestions or findings, you are most welcome to submit the amended version as our contributor via Github or give us suggestions in the survey below, it would be more appreciated if you could leave your email so that we can reply to you. Happy Hacking!