Grove - Light Sensor
Introduction

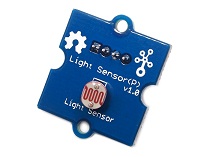
The Grove - Light sensor integrates a photo-resistor(light dependent resistor) to detect the intensity of light. The resistance of photo-resistor decreases when the intensity of light increases. A dual OpAmp chip LM358 on board produces voltage corresponding to intensity of light(i.e. based on resistance value). The output signal is analog value, the brighter the light is, the larger the value.
This module can be used to build a light controlled switch i.e. switch off lights during day time and switch on lights during night time.
Warning
The light sensor value only reflects the approximated trend of the intensity of light, it DOES NOT represent the exact Lumen.
Version Track
This document applies to the following version of products:
| Version | Released Date | How to buy |
|---|---|---|
| Grove - Light Sensor 1.0 | Apr28, 2013 |  |
| Grove - Light Sensor(P) | 2014 | |
| Grove - Light Sensor(P) V1.1 | Aug, 2016 | |
| Grove - Light Sensor 1.2 | Dec. 2015 | |
Features
- Analog value output
- High reliability and sensibility
- Small footprint
- Recognize wider spectrum
Tip
More details about Grove modules please refer to Grove System
Platform Support
Specification
| Item | Value |
|---|---|
| Operating voltage | 3~5V |
| Operating current | 0.5~3 mA |
| Response time | 20-30 milliseconds |
| Peak Wavelength | 540 nm |
| Weight | 4 g |
Getting Started
Note
This part is besed on Grove - Light Sensor(P) V1.0.
Here we will show you how this Grove - Light Sensor works via a simple demo. First of all, you need to prepare the below stuffs:
| Seeeduino V4 | Grove - Light Sensor | Grove - LED Bar |
|---|---|---|
 |
 |
 |
| Get ONE Now | Get ONE Now | Get ONE Now |
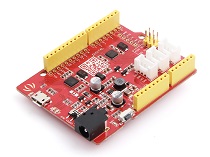
| Base Shield | micro USB cable | Grove cable |
|---|---|---|
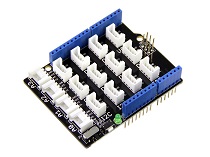 |
 |
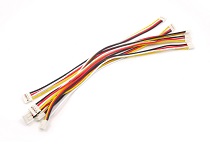 |
| Get ONE Now | Get ONE Now | Get ONE Now |
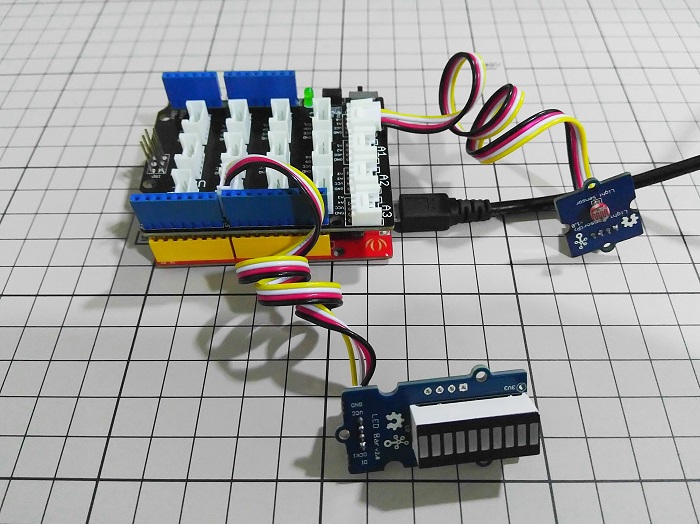
Connection
Thanks to the benefit of Grove series module, you don’t need soldering or bread board, what you need to do is connecting the modules to the appropriate grove port of Base Shield. For this demo, we will use 2 Grove modules.
- Grove - Light Sensor is an analog output module, let’s connect it to A0.
- Grove - LED Bar is a digital input module with a 2-wire bus, let’s connect it to D2
Download sketch
There’s a sketchbook for Seeeduino Stalker V3.1, which includes:
- Example of read raw value of the sensor
- Example of this getting started
- Example of the secret box demo
- LED Bar library

Download the sketch and put it at anywhere, open Arduino IDE, File > Reference, and copy the location path to Sketchbook location, then click on OK. Reopen Arduino IDE, then the sketchbook is set.
Upload the code to Arduino
Open Arduino IDE, File > Sketchbook > GettingStarted to open the code for this part.
Then choose the right Board and COM port, and then click on the Upload button, this process will take seconds. Then let’s try to cover the light sensor with your hand, you will find LED Bar reduce its led.
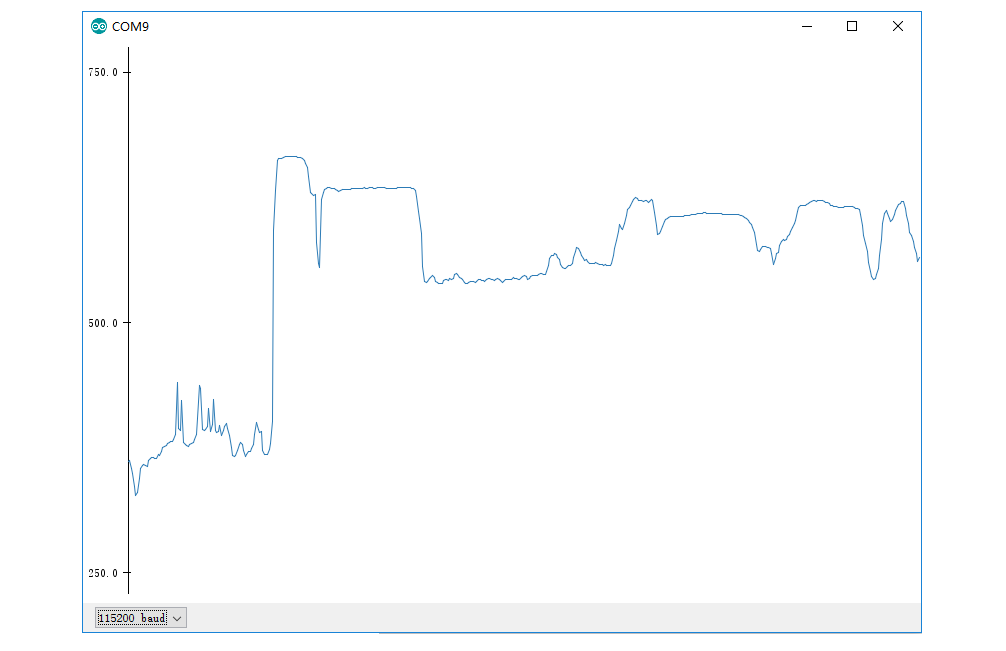
Get Raw Data
If you don’t need a Grove - LED Bar, there’s another example you can try, Open Arduino IDE, File > Sketchbook > RawData to open the code, after uploaded the example to Seeeduino V4, click on Serial > Plotter to get the changing curve of the sensor.
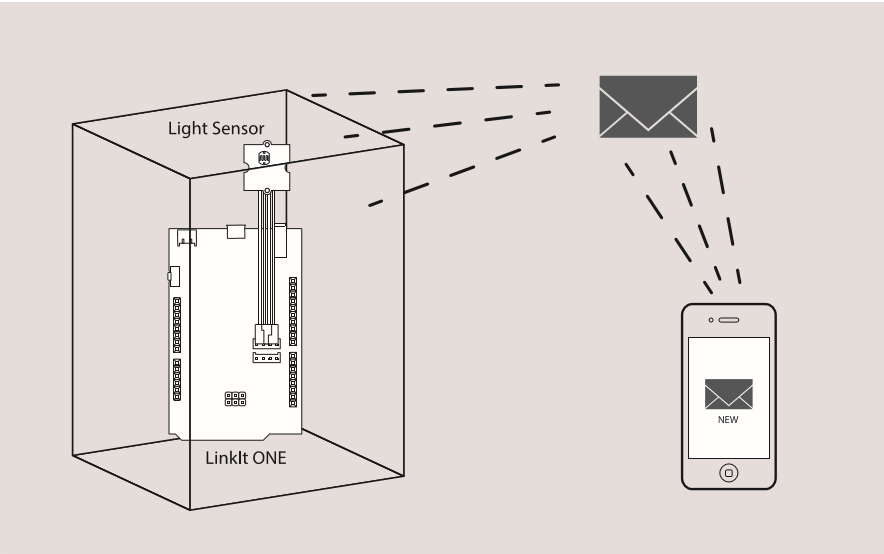
Project: Secret Box
Here we will show you a project made with Grove - Light Sensor - Secret Box. First you need a box, a paper box, wooden box, any box is ok. Put something in the box, because we named it secret box, that means we don’t want anybody to open it, otherwise there will be an alarm to inform you.
Here we use LinkIt ONE as the controller, which is an Arduino compatible board and consist of rich function. And you need things below:
- LinkIt ONE
- Grove - Light Sensor
- Grove - Base Shield
- A Sim Card
Let’s connect Grove - Light Sensor to A0 or Base Shield, and open Arduino IDE, File > Sketchbook > SecretBox, what you need to do is upload the example to LinkIt ONE. Then someone open the box, the light will detect it, and send you a SMS.
Have fun.
Project

Inspired by OVERWATCH, we have made a very cool Wooden Laser Gun toy for fun these day!
The Wooden Laser Gun and the Gun Target are all based on an Arduino board called Seeeduino Lotus. The laser emitter on the Laser Gun is controlled to fire laser pulse to “activate” the Gun Target. And there are 3 light sensors on the Gun Target to detect the laser pulse. It seems very simple right? If you are interested in our project, please make one for yourself or your child! It’s worth to spend one day DIY it as a Xmas present.

Resources
- Sketchbook for Light Sensor
- Eagle File for Grove - Light Sensor V1.0
- Eagle File for Grove - Light Sensor(P) V1.0
- Eagle File for Grove - Light Sensor(P) V1.1
- LS06-MΦ5 Reference Information
- LM358.PDF
- Light Sensor Library
- Schematic at Easyeda
| Arduino | Wio | BeagleBone | Raspberry Pi | LinkIt ONE |
|---|---|---|---|---|
Caution
The platforms mentioned above as supported is/are an indication of the module's hardware or theoritical compatibility. We only provide software library or code examples for Arduino platform in most cases. It is not possible to provide software library / demo code for all possible MCU platforms. Hence, users have to write their own software library.